How to create an ECS Service + ALB

Before you begin, confirm that you have the following tools, that we’ll need, ready to go:
- AWS CLI.
- Session Manager Plugin.
In case you don’t have some of these, I’ve left the corresponding links to install them below.
https://docs.aws.amazon.com/cli/latest/userguide/getting-started-install.html
IAM ROLE:
We must create a role, in this case, we’ll be calling “ecsTaskExecutionRole”, it allows ECS to execute tasks and commands against other AWS services.
- Go to the IAM console, select “Roles”, then select “Create Role”.
- In our case, the role we are creating is for ECS to use, so it will be for an AWS Service, to do that follow the steps you can see below:
- Then we need to add a Policy to our Role, which allows ECS to perform tasks. The one we are looking for is “AmazonECSTaskExecutionRolePolicy”; you can filter by “ECS” word to find it easily.
- Now, we have to name and describe it:
It seems to be ready, but we need to add another Policy yet, and this one it’s gonna be created by us.
- Let’s go then, go to the roles section, look up the one you just created and select it.
- Click on “Add permissions” and select “Attach policies”.
- Then select “Create Policy”.

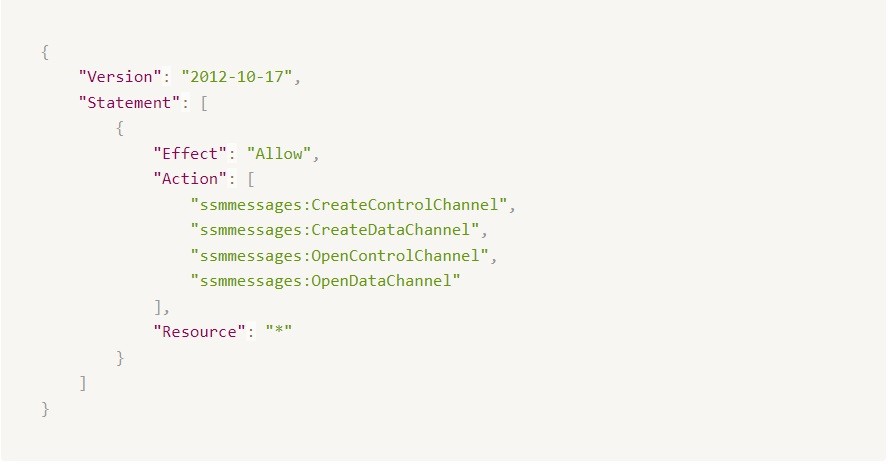
- Click on “JSON”. Here we’re going to see a file like the next one:
- We need to write our second policy, this one will allow ECS to get the Session Manager able to execute commands inside our containers. So, delete the current content of the file, and below, you’ll find the one that we need to insert.
- Once it’s ready, we’re able to continue, select “next”.
- Now, we have to name and describe it:
- Now we’ve brought back to the “Attach policy” section, refresh the page and search for the policy we just created. Search it, select it and attach it.
ECR – Elastic Container Service:
Let’s create a repository on ECR to store our container images.
- Go to the ECR console, and once there, select “Get Started”.
- Choose a name for your repository, in my case I’m naming it “demo”. Leave the rest of the options on their default configuration, and click on “Create repository”.
- That’s all, now we’re ready to push our docker custom images to the repository using its URI.
- The following are useful commands to use to log into the ECR, create an image from a Dockerfile, tag and push an image, etc.
Create an image from a Dockerfile:

ECR Login:

Tag an image:

Push an image:

ALB – Application Load Balancer:
So, time to create a Load Balancer
- Go to the EC2 console, scroll down until the end, and select the “Load Balancer” option that you can find on the left side.

- Now, click on “Create Load Balancer”.
- In this case, we’re gonna choose the “Application Load Balancer”:
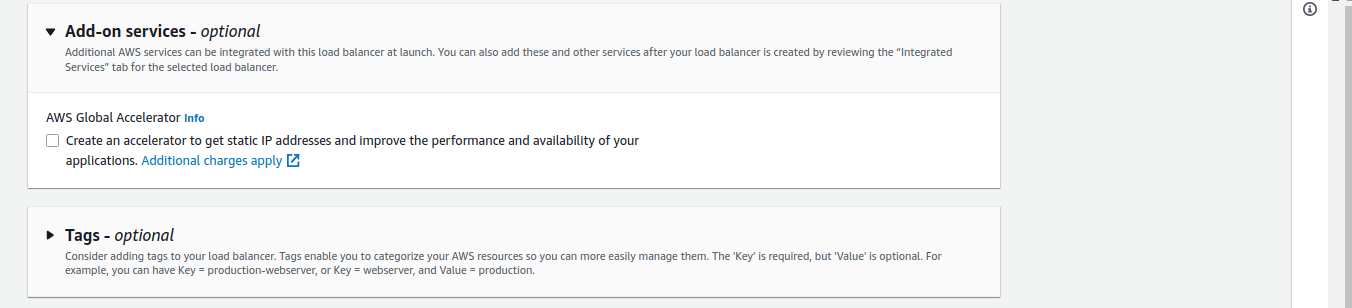
- We need to name our Load Balancer, then left the rest options on their default configuration.
- Select the correct VPC and choose at least two subnets.
- Also, you’ve to select the Security Group.
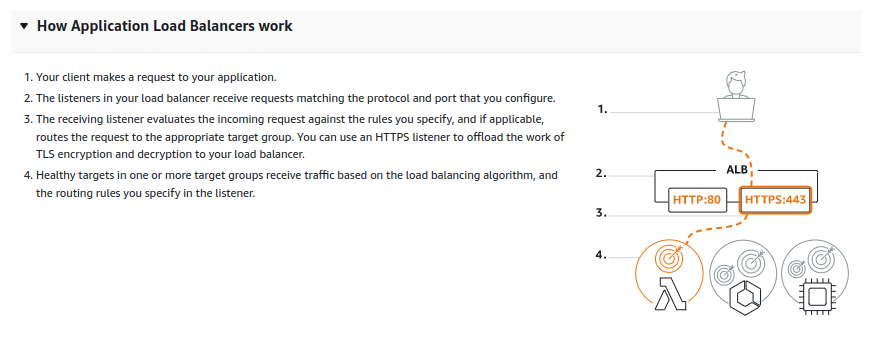
- The next step it’s to choose the listener port of our Load Balancer, the most common ones are HTTP/80 and HTTPS/443. We’re gonna work with the HTTP/80 listener.
Right below, we’re asked to select a Target Group, these are which tells the Load Balancer to where send the traffic that is being received on the listener port.
So, we’re gonna create one, even if in our case (which it’s) we don’t have an instance/container/app to be the target of requests yet, just we need this step to be done for the Load Balancer creation.
Don’t worry, later we’ll be doing this configuration in a way that works for us.
- Then, click on “Create target group”, it will take you to another window.
Here select the “IP addresses” option, name your Target Group, then leave the rest in their default configuration and click on “Next”.


- Now, choose the correct VPC (the same one that we chose before for the Load Balancer). Then, click on “Remove” to delete the suggested IPv4 address and, finally, click on “Create target group”.
Once done, we can close the current window and continue working with the Load Balancer creation.
- So, now we are ready to select a target group, to be able to see in the options the one we just created, click on the refresh button, then expand the options and select the correct one.
- Then leave the rest as default and click on “Create Load Balancer”.
ECS – Elastic Container Service:
- Go to the ECS console, once there, on the left side of the page click on “Cluster”, then select “Create cluster”.
- Give your cluster a name, and choose the correct VPC and subnets, as we’ll be using the ALB that we have created before, please be careful and select the same ones for the cluster.
- Keep the Infrastructure, Monitoring, and Tags settings without changes. Finally, click on “Create”.


- Once the cluster it’s created. Select from the left side of the page the “Task Definitions” option.
Here the role we created earlier will be assigned and also we’ll indicate the image that we want to be deployed in our container.
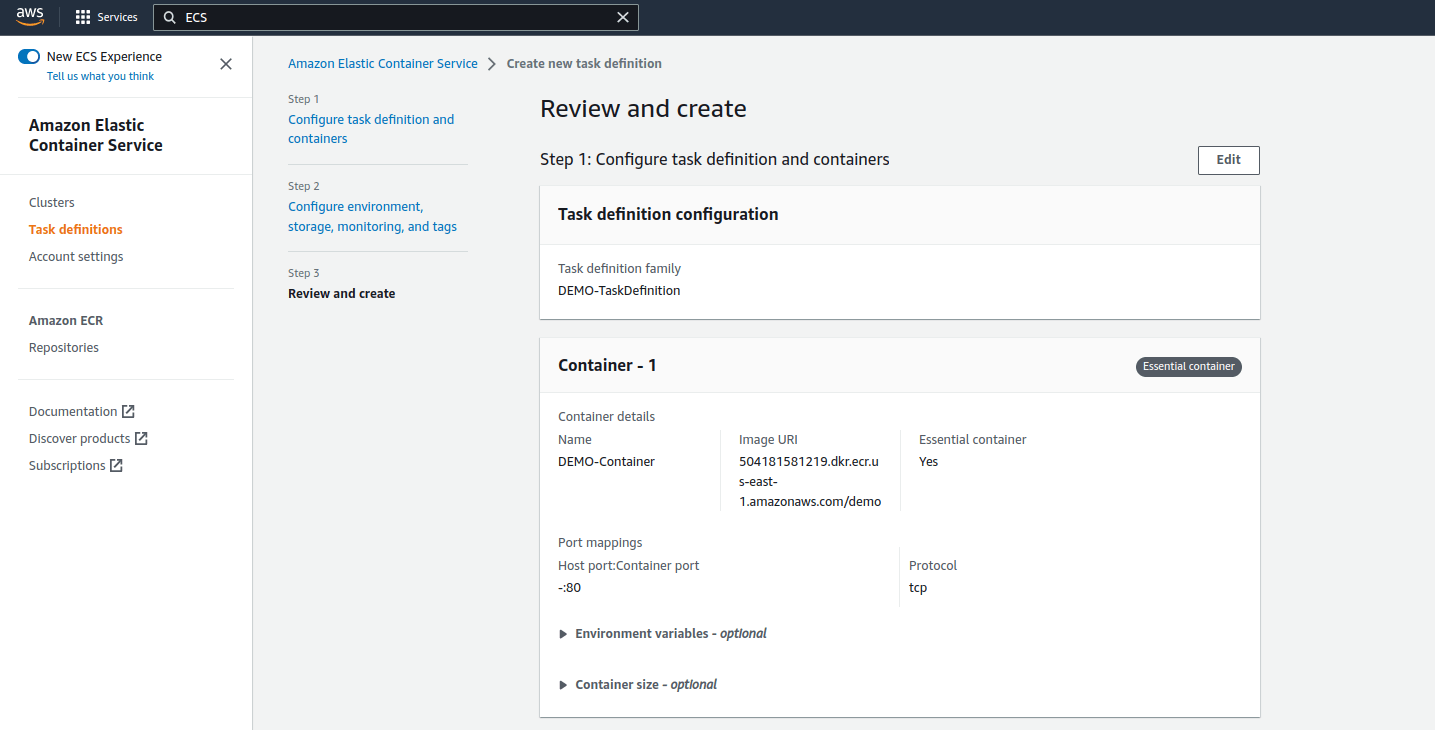
- Name your Task Definition, for that, it’s useful to be aware of the image’s name that it will be deploying, just to be easier to identify its function in the future. The same applies to containers, services, etc.
- Then, name the container. For the Image URI, you’ll have to go to your ECR, search in the repo for the image you want to deploy, and copy the “URI” just as you can see below in step “2”.
- Once done, choose the correct port for the container, and click on “Next”.

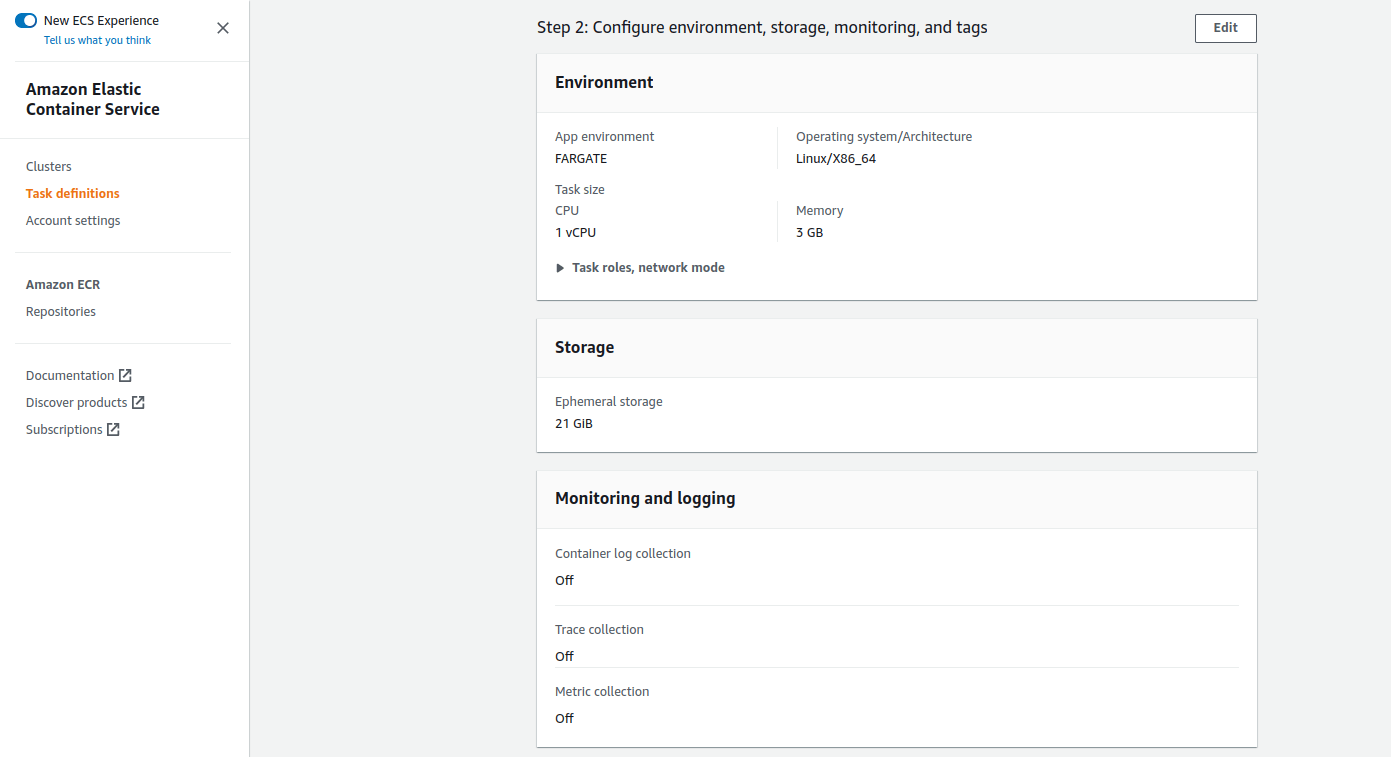
- Leave the Environment as default, choose the size of the container, and select the role that we created before for both places, Task Role and Task Execution Role. Then specify a size for the Ephemeral storage, the minimum it’s set to 21GB.
- The last item it’s Monitoring and Logging, it’s optional as you can see, just be aware that enabling one or some of the options carries a cost. Once it’s done, click on “Next”.


- Review all the configurations and click on “Create”.

Now that we have the Task Definition, we can create a Task or a Service from it. There are many differences between these two, one, for example, might be:
A Task creates one or more containers, depending on the configuration that we set, running our apps, if some of the containers get down, it will keep down.
A Service gives you more tools to avoid that problema, because a service can run multiple tasks and even you can set the desired amount of tasks to be running if one of them get down, the service will be in charge of bringing up another.
- In our case we’re gonna create a Service, so select “Deploy” and then click on “Create Service”.
- In the Environment space, just select the cluster that we had done earlier and keep the rest without changes.
- In Deployment Configuration, choose “Service” and give your service a name.
- In Networking, select the same VPC and subnets that you have chosen when you created the Task Definition, choose the Security Group and be aware to Turn on the “Public IP”.
- In Load Balancing, select “Application Load Balancer”, we’re gonna use the ALB and the Listener (80:HTTP) that we had created before.
The time to create our useful Target Group has come, so, name it and choose HTTP “Protocol” (same as the listener).
Then, the Path Pattern can be a “/” and, in this way, the requests will match with everything after “alb-dns.com/“, but if your idea is to deploy many apps will be useful to identify them and redirect the requests to the specific path associated with their names.
In my case, I’m using /demoapp/*, please take note of the *****, it needs to be always at the end of the path, for the requests to match without errors. Also, the Health Check Path needs to be the same as the Pattern Path but without “/” in the end.
Finally, choose the Health Check Grace Period and click on “Deploy”.


- That’s all, inside your cluster you’re gonna see your Service and the status of the Task that it deployed.
- Also, if you click on the Service’s name, you can know multiple useful details, such as the Status of the Health Checks, the Task ID, etc.

In the case that you need to ingress into some container to do troubleshooting, maintenance tasks, etc.
I’m leaving below a couple of steps to you get that.
- Enable “execute-command” in the Task Definition.
- For that, you’ll need to know the names of the Cluster, Task Definition, and Service.
- “Number of Revisions” refers to the version of the Task Definition.
- “Desired Count” refers to the number of tasks that you pretend to get up and running always, this was defined when you created the Service.

- Verify if the “execute-command” it’s enabled.
- In this case, you’ll need the Cluster’s name and the Task ID.
- If the “execute-command” appears to be disabled yet, you’ll have to “Stop” the Task and once it’s up again the “execute-command” will be enabled for sure.

- Get into the container:
- Here, you’ll need the Cluster’s and Container’s names, and the Task ID.


